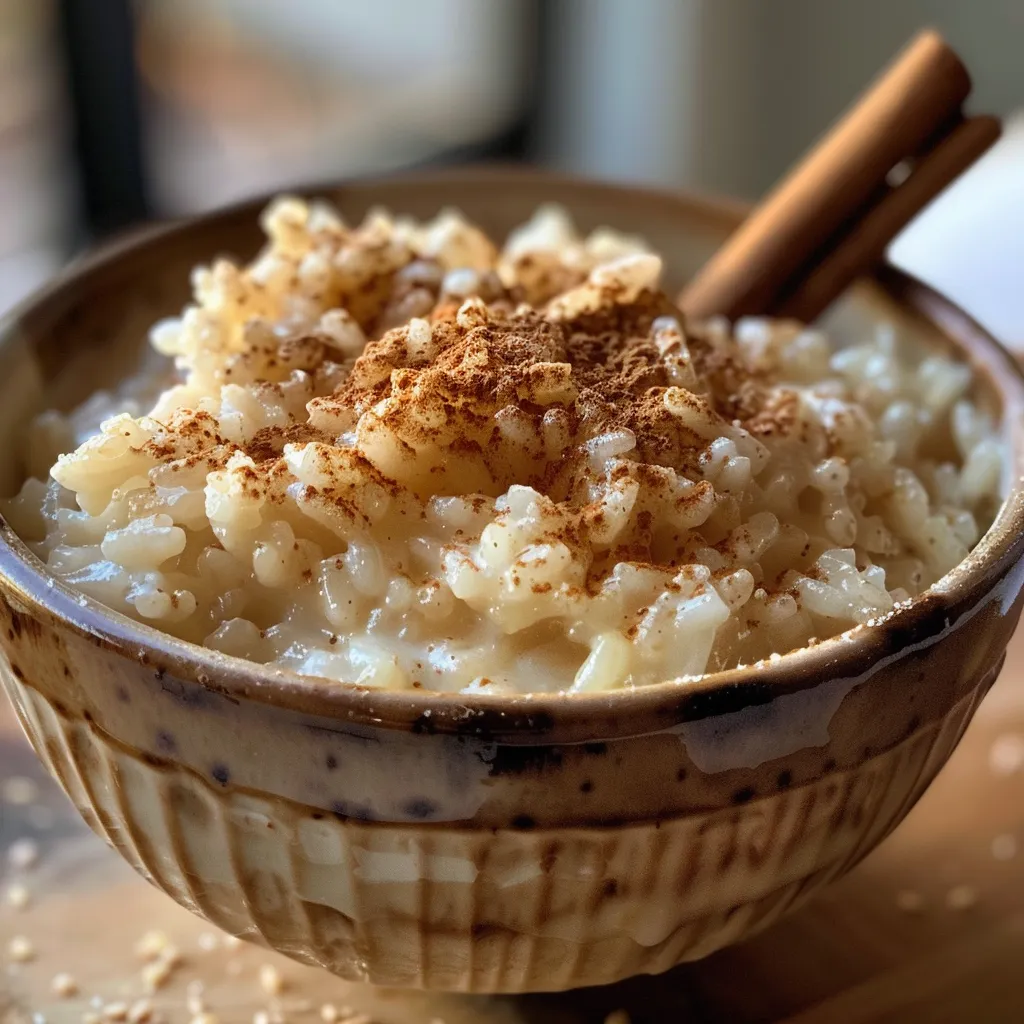
Your New Favorite Dessert Awaits
Welcome to the delightful world of creamy dairy-free rice pudding! If you’re looking for a comforting dessert that’s not only easy to make but also bursting with flavor, you’ve struck gold with this recipe. In less than half an hour, using your Instant Pot, you can whip up a dessert that’s perfect for busy weekdays or special occasions. With its rich coconut milk base and the subtle warmth of cinnamon, this rice pudding is a treat that everyone will love. Let’s dive into why this recipe is a must-try!
Why You’ll Love This Recipe
- Quick and Easy: With just a handful of simple ingredients, you can create a creamy dessert in approximately 30 minutes. Perfect for when you want something sweet without all the fuss!
- Dairy-Free Delight: This recipe uses coconut milk and your choice of dairy-free milk, making it suitable for those with dairy restrictions or anyone wanting a lighter option.
- Rich Flavor: The combination of coconut milk and vanilla extract creates a deliciously rich pudding that feels indulgent yet comforting.
- Customizable: You can easily adapt this rice pudding to fit your taste preferences. Whether you want to add spices, fruits, or nuts, the possibilities are endless!
- Perfect for Meal Prep: This pudding stores well in the fridge and can be made ahead, making it an excellent option for busy weeks or last-minute gatherings.
Key Ingredients in Your Creamy Rice Pudding
To create this scrumptious dish, you’ll need just a few key ingredients. Let’s take a closer look at what you’ll need and possible substitutions.
- Coconut Milk: A 14 oz can of coconut milk provides a creamy base. If you prefer a lighter option, you can substitute with almond milk or any other plant-based milk.
- Dairy-Free Milk: I recommend using soy milk, almond milk, or oat milk. They all blend beautifully with the coconut milk.
- Water: Adds the necessary moisture for cooking the rice.
- Granulated Sugar: I use organic sugar to avoid bone char. You can swap this out for maple syrup or agave nectar if you want a healthier sweetener.
- Cinnamon Stick: Adds a warm spice that complements the sweetness perfectly. Feel free to adjust the amount or omit it if you prefer.
- Arborio Rice: This short-grain rice is perfect for a creamy texture. You can also use other short-grain varieties if you prefer.
How to Make Rice Pudding in an Instant Pot
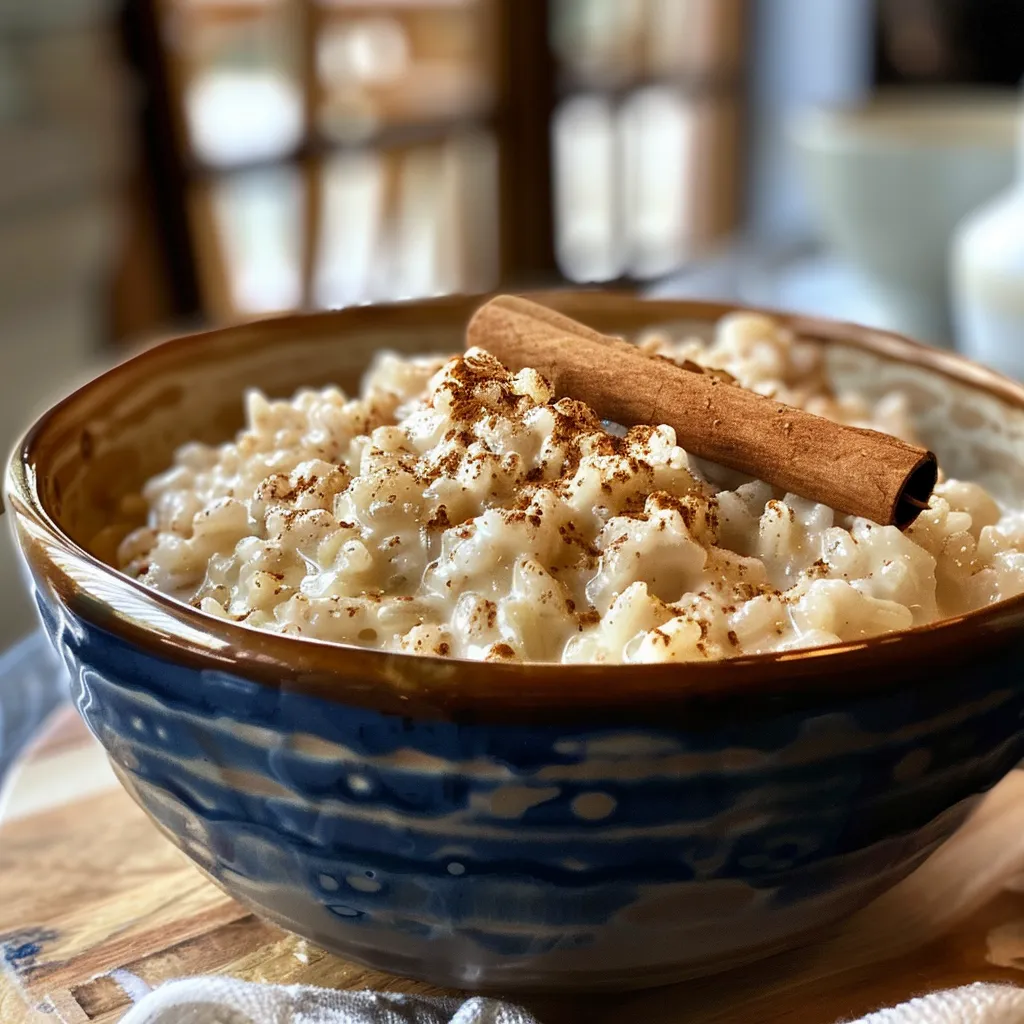
Now that you have your ingredients ready, let’s get cooking! Follow these easy steps to create your delicious rice pudding.
- Shake the can of coconut milk well to combine before opening. Pour it into the Instant Pot.
- Add the dairy-free milk, water, sugar, and a pinch of salt. Stir well to dissolve the sugar.
- Mix in the vanilla extract.
- Rinse the rice in a mesh strainer until the water runs clear. Add the rinsed, uncooked rice to the milk mixture in the pressure cooker and stir to combine.
- Place the cinnamon stick on top of the rice pudding mixture.
- Seal the electric pressure cooker and cook on high pressure for 3 minutes.
- Once the cook cycle has ended, allow a natural release for 10 minutes before carefully turning off the pot.
- Release any remaining pressure and open the Instant Pot. Remove the cinnamon stick and stir the rice pudding. It may seem a bit runny initially but will thicken as it cools.
- Serve warm or chill in the fridge, adding your favorite toppings before serving.
Pro Tips for Perfect Rice Pudding
Here are some expert insights to help you achieve the best possible results with your rice pudding:
- Rinse Your Rice: Rinsing arborio rice before cooking removes excess starch and helps achieve a creamier texture.
- Adjust the Sweetness: Feel free to taste and adjust the sweetness to your liking. You can always add more sugar or a sweeter milk alternative.
- Let it Rest: Allowing the pudding to cool for a while before serving helps it thicken up beautifully.
- Don’t Skip the Vanilla: It adds an essential flavor component that makes the pudding truly special.
- Experiment with Spices: Try adding a pinch of nutmeg or cardamom for a unique twist on the traditional flavor.
- Use a Natural Release: This helps prevent the rice from overcooking and ensures a creamy texture.
- Add Toppings: Top with fresh fruit, nuts, or a drizzle of maple syrup for added flavor and texture.
- Storage Tips: Store leftover rice pudding in an airtight container in the fridge for up to 5 days.
Common Mistakes and Troubleshooting
Even the best cooks make mistakes! Here are some common issues and how to avoid them:
- Too Runny: If your pudding is too runny, it may need more time to cool. It will thicken as it sits. If you want to thicken it immediately, you can cook it on the sauté setting for a few minutes, stirring frequently.
- Overcooked Rice: Ensure you follow the cooking time closely. The natural release is essential to prevent overcooking.
- Burnt Bottom: If you notice the bottom is burned, make sure to stir well before sealing the lid. This helps distribute the rice evenly.
- Insufficient Flavor: Always taste and adjust your seasonings. A little extra vanilla or a pinch of salt can elevate the dish!
Variations to Try
Want to switch things up? Here are several delightful variations of rice pudding you can try:
- Chocolate Rice Pudding: Stir in cocoa powder or melted dark chocolate for a rich chocolatey twist.
- Fruity Rice Pudding: Mix in dried fruits like raisins or cranberries during the cooking process or add fresh fruits as a topping.
- Coconut-Lime Rice Pudding: Add lime zest and a splash of lime juice for a refreshing tropical flavor.
- Maple Pecan Rice Pudding: Use maple syrup instead of sugar and add chopped pecans for a delightful crunch.
Storage and Make-Ahead Instructions
This rice pudding is perfect for meal prep! Here’s how to store and reheat:
- In the Fridge: Store in an airtight container for up to 5 days. The pudding will thicken as it cools.
- Reheating: Gently reheat on the stovetop or in the microwave with a splash of dairy-free milk to restore creaminess.
- Make-Ahead: You can prepare the rice pudding a day in advance. Just be sure to let it cool completely before refrigerating.
Frequently Asked Questions
Here are some common queries about making rice pudding:
- Can I use brown rice instead of arborio? Yes, but cooking times will vary. Brown rice typically takes longer to cook, so adjust accordingly.
- Is this recipe gluten-free? Absolutely! All the ingredients are gluten-free, making it a safe dessert option.
- Can I add eggs for a creamier texture? Yes, you can temper eggs and stir them in after cooking for additional creaminess.
- What’s the best way to serve rice pudding? Serve it warm or chilled, topped with cinnamon, fresh fruit, or a drizzle of syrup!
- Can I freeze rice pudding? Yes, but it may change texture upon thawing. It’s best enjoyed fresh!
- How do I know when the pudding is done? Look for a creamy consistency. The rice should be tender but not mushy.
- Can I substitute the sugar? Definitely! Maple syrup, honey, or agave can be used as alternatives.
- What if I don’t have an Instant Pot? You can cook this on the stovetop; just be mindful of stirring frequently to prevent sticking.
Nutritional Tips and Dietary Adaptations
This rice pudding can be tailored to fit various dietary needs:
- Low-Calorie Option: Use unsweetened almond milk and reduce the sugar for a lighter dessert.
- High-Protein Version: Mix in some protein powder or use fortified dairy-free milk for extra protein.
- Nut-Free: Stick with coconut milk and rice for a nut-free version.
Essential Equipment for Your Rice Pudding
To make this creamy rice pudding, here’s what you’ll need:
- Instant Pot: This magical device helps you cook the pudding quickly and evenly.
- Measuring Cups and Spoons: Precision is key for the best results.
- Mesh Strainer: For rinsing the rice to remove excess starch.
- Wooden Spoon: Perfect for stirring the ingredients together.
Serving Suggestions
Now that your rice pudding is ready, here are some tasty serving suggestions:
- Top with Fresh Fruit: Berries, bananas, or mango slices add a refreshing touch.
- Add Crunch: Chopped nuts, granola, or toasted coconut flakes enhance the texture.
- Drizzle with Syrup: A drizzle of maple syrup or honey can elevate the sweetness.
Wrap-Up: Your Rice Pudding Adventure Awaits!
There you have it! A comprehensive guide to crafting your new favorite dessert: creamy, dairy-free rice pudding in the Instant Pot. Whether you’re treating yourself or sharing with loved ones, this comforting dish is sure to impress. Remember, cooking is all about joy and exploration, so don’t be afraid to experiment with flavors and ingredients. Enjoy this delicious journey, and happy cooking!
Creamy, Dairy-Free Instant Pot Rice Pudding
Ingredients
Coconut Milk
- 1 can 14 oz can coconut milk
- 1.5 cups milk, dairy-free ((soy, almond, or oat milk preferred))
- 1 cup water
- 0.25 cup granulated sugar ((organic preferred))
- 1/8 tsp salt ((or 1/8 tsp))
- 1 tsp vanilla extract
- 1 cup arborio rice (or another short-grain rice)
- 1 stick cinnamon stick
Instructions
- Shake the coconut milk can well, then pour into the Instant Pot.
- Add the dairy-free milk, water, sugar, and salt. Stir to dissolve.
- Stir in vanilla extract and add rinsed rice. Place cinnamon stick on top.
- Seal the lid and cook on high pressure for 3 minutes. Let natural release for 10 minutes.
- Release remaining pressure, remove cinnamon stick, and stir. Serve warm or chilled.