
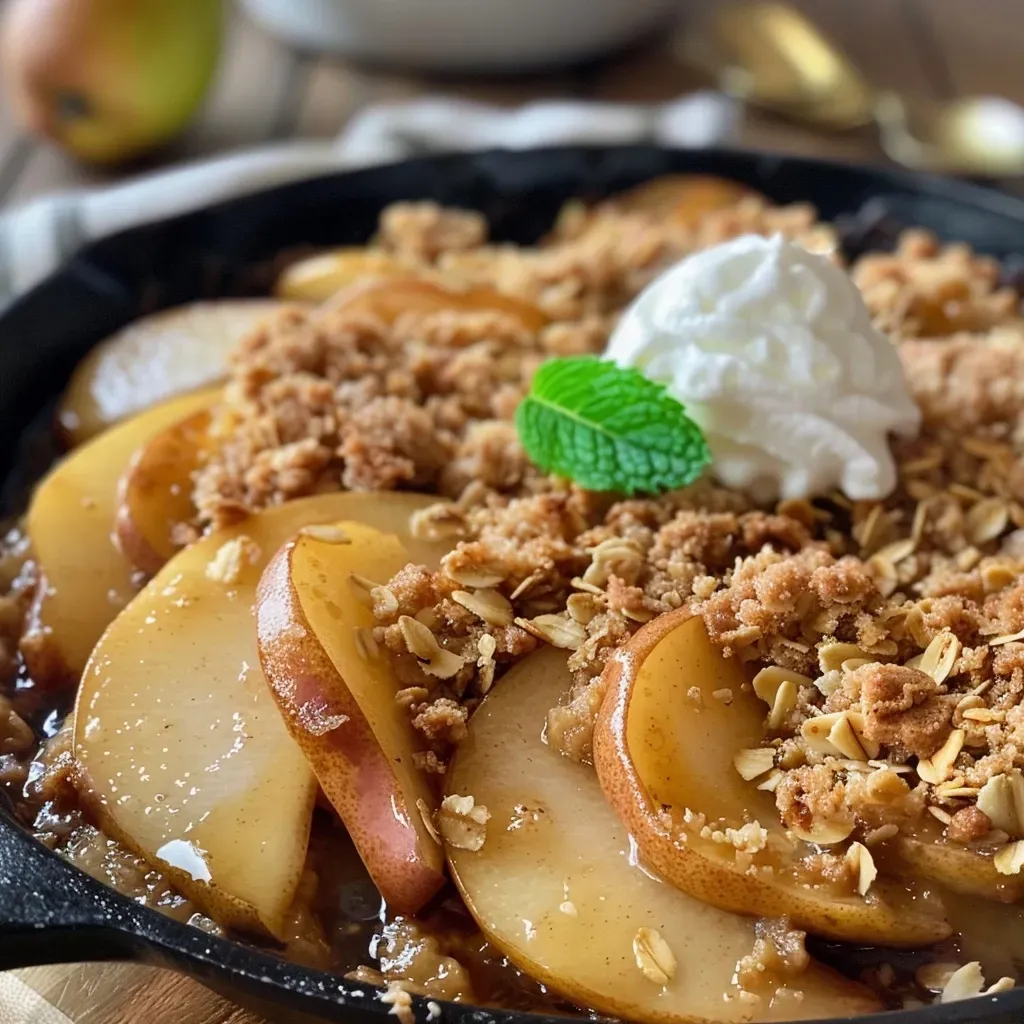
Discover the Irresistible Charm of Skillet Pear Crisp
If you’re looking for a quick and delightful dessert that will impress your loved ones, you’ve found it! This easy skillet pear crisp combines the natural sweetness of ripe pears with warm spices and a buttery oat topping, creating a cozy dish that’s perfect for any occasion. Whether it’s a busy weeknight or a weekend gathering, this recipe is a breeze to whip up and even easier to enjoy. Let’s dive into why this dish is a must-try!
Why You’ll Love This Recipe
This skillet pear crisp isn’t just about flavor; it’s about the experience! Here are five specific reasons why this dessert is a winner:
- Quick to Prepare: Ready in under 30 minutes, making it ideal for unexpected guests or a last-minute craving.
- One-Pan Wonder: Minimal cleanup required since everything is made in a single skillet—less mess, more fun!
- Customizable: Easily adapt the recipe to your taste preferences or dietary needs by swapping ingredients.
- Deliciously Comforting: The warm spices and sweet, tender pears create a nostalgic flavor that feels like a hug in a bowl.
- Perfect for Sharing: Serve it warm with ice cream or whipped cream, and watch it disappear at any gathering!
Ingredients You’ll Need
Gathering the right ingredients is key to making this pear crisp shine. Here’s what you’ll need:

★ Recommended Kitchen Tool
Silicone Baking Cups Set
Make this recipe even easier with a quality Silicone Baking Cups Set — a must-have kitchen staple!
- 4 ripe pears (Bartlett or Bosc): These varieties are perfect for their sweetness and firm texture.
- 1/4 cup brown sugar: Adds rich depth with a hint of caramel flavor.
- 1 teaspoon ground cinnamon: Provides warmth and enhances the overall flavor.
- 1/2 teaspoon ground nutmeg: A little nutmeg goes a long way in making this dish festive.
- 1 cup rolled oats: The base of your topping, giving it that delightful crunch.
- 1/2 cup all-purpose flour: Helps bind the crisp topping together.
- 1/2 cup unsalted butter, melted: The secret to a rich, buttery flavor.
- 1/4 cup chopped nuts (optional): Walnuts or pecans add an extra layer of texture.
- Pinch of salt (optional): Enhances the sweetness of the pears.
- Coconut flakes (optional): For a tropical twist!
- 1 teaspoon vanilla extract (optional): A splash of vanilla elevates the dish.
- Vanilla ice cream: For serving, because what’s a dessert without ice cream?
- Fresh mint leaves: For garnish, adding a pop of color and freshness.
- Cream or whipped topping: Another delightful option for serving!
Step-by-Step Instructions
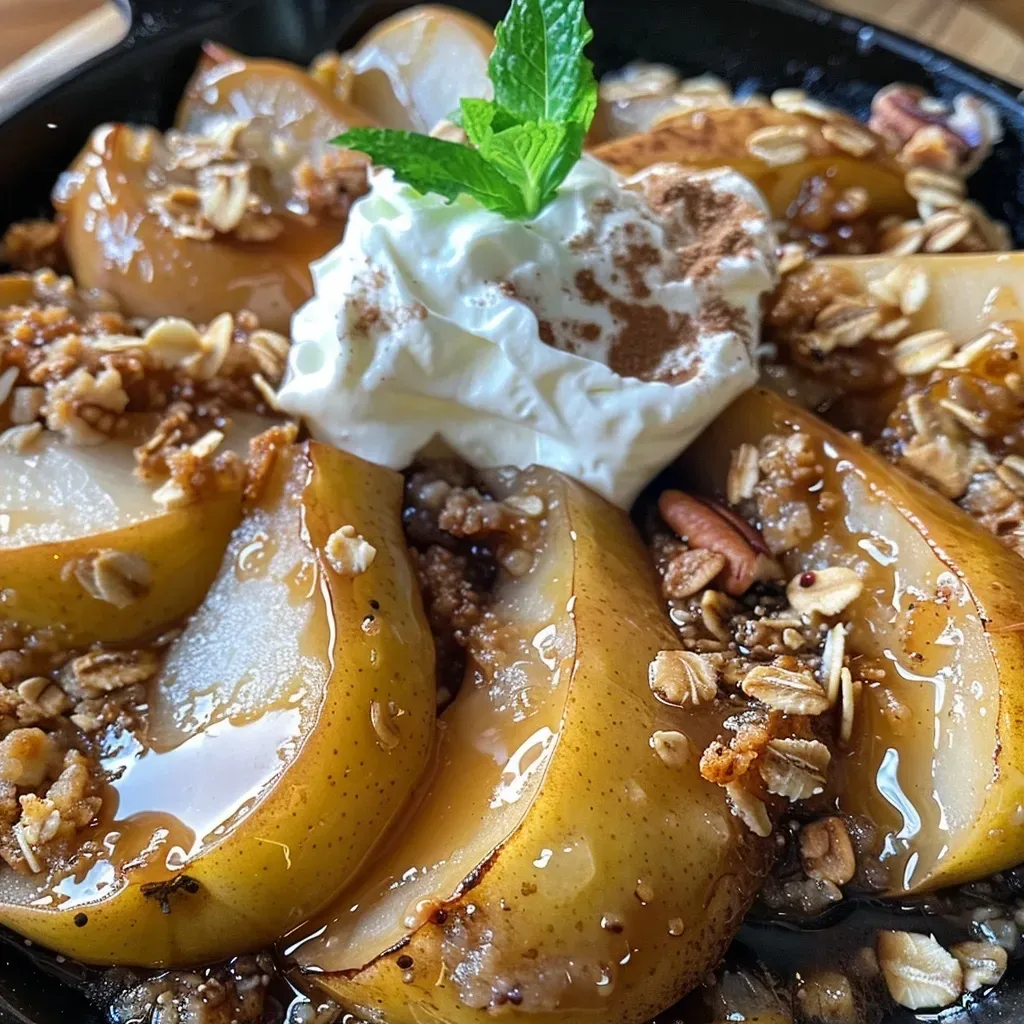
Time to bring it all together! Follow these simple steps to create your easy skillet pear crisp:
- Prep the pears: Start by washing, peeling, and slicing your ripe pears into thin wedges.
- Cook the pears: Place the sliced pears in a large skillet over medium heat. Add brown sugar, cinnamon, and nutmeg, stirring to combine. Cook for about 5-7 minutes until the pears soften and release their juices.
- Make the topping: In a separate bowl, combine rolled oats, flour, and melted butter. Mix until the oats are thoroughly coated. Consider adding nuts and salt if using.
- Assemble the crisp: Once the pears are tender and syrupy, sprinkle the oat mixture evenly over them in the skillet.
- Cook the crisp: Reduce heat to low, cover the skillet, and allow it to cook for an additional 10-15 minutes, or until the topping is golden brown and crisp.
- Serve and enjoy: Let it cool for a few minutes before serving warm, topped with your favorite garnish!
Pro Tips for Perfecting Your Skillet Pear Crisp
Want to elevate your pear crisp game? Here are some expert tips:
- Choose the right pears: Bartlett and Bosc are great choices, but feel free to experiment with others like Anjou or Asian pears for a unique flavor.
- Don’t rush the cooking: Allow the pears to soften and caramelize to enhance their natural sweetness.
- Add a splash of lemon juice: For a zesty twist that balances the sweetness of the pears.
- Experiment with spices: Try adding cardamom or ginger for a different flavor profile.
- Let it cool slightly: This helps the topping firm up a bit, making it easier to serve.
- Pair with ice cream: Vanilla bean or even cinnamon ice cream are excellent choices to complement the flavors.
- Use gluten-free oats: For a gluten-free version, make sure to choose certified gluten-free oats.
- Store leftovers properly: Keep any leftovers in an airtight container in the fridge for up to 3 days.
Common Mistakes and Troubleshooting
Even the best cooks make mistakes! Here’s how to avoid common pitfalls:
- Pears too hard: If they don’t soften, increase the cooking time and check for doneness.
- Oat topping too dry: If it seems dry, add a little more melted butter or a splash of water to moisten it up.
- Topping burns: If the topping is browning too quickly, reduce the heat and cover the skillet with a lid.
- Too sweet: Adjust the brown sugar based on your taste preference; you can always start with less and add more!
Variations of Skillet Pear Crisp
Make this recipe your own with these delightful variations:
- Berry Bliss: Add a cup of fresh or frozen berries (like blueberries or raspberries) to the pears for an extra fruity twist.
- Nutty Delight: Mix in a variety of nuts like almonds or pecans for a crunchier topping.
- Chocolate Lovers: Sprinkle in some dark chocolate chips before serving for a decadent touch.
- Spiced Pear Crisp: Add a dash of allspice or clove for a warm, spiced flavor profile.
Storage and Make-Ahead Instructions
If you’re planning ahead, here’s how to store and prepare your skillet pear crisp:
- Make-Ahead: Prepare the pear filling and topping separately ahead of time. Store in the fridge and assemble just before cooking.
- Storing Leftovers: Keep in an airtight container in the fridge for up to 3 days. Reheat in the skillet over low heat to maintain crispiness.
- Freezing: You can freeze the unbaked crisp for up to 3 months. Thaw in the fridge overnight before baking.
Frequently Asked Questions (FAQ)
Got questions? We’ve got answers!
- Can I use other fruits? Yes, apples, peaches, or berries work beautifully in this recipe.
- Is this recipe gluten-free? You can easily make it gluten-free by using gluten-free oats and flour.
- What’s the best way to serve it? Warm with a scoop of vanilla ice cream or a dollop of whipped cream!
- How do I know when the pears are done? They should be tender and syrupy but still hold their shape.
- Can I make it vegan? Substitute the butter with coconut oil and use maple syrup instead of brown sugar.
- How long does it last in the fridge? It stays fresh for about 3 days when stored properly.
- What can I add for extra flavor? A splash of vanilla extract or a hint of citrus zest brightens the dish!
- Is it possible to make it in the oven? Yes! Just bake at 350°F for 25-30 minutes until bubbly and golden.
Nutrition Tips and Dietary Adaptations
Want to make this dish fit your dietary needs? Here are some helpful tips:
- Lower the sugar: Consider using less sugar or a sugar substitute to reduce calories.
- Add fiber: Incorporate chia seeds or flaxseed into the oat topping for added nutrition.
- Boost the protein: Add a scoop of protein powder to the oat mixture.
- Monitor portions: Enjoy this dessert in moderation as part of a balanced diet.
Equipment Recommendations
Here’s what you’ll need to make this pear crisp:
- Skillet: A well-seasoned cast iron skillet works best for even cooking.
- Mixing bowls: For combining ingredients easily.
- Measuring cups and spoons: To ensure accuracy in your ingredients.
- Spatula: For mixing and serving your delicious crisp!
Serving Suggestions
Finally, let’s talk about how to elevate your serving:
- Classic Pairing: Serve warm with a generous scoop of vanilla ice cream.
- Garnish: Top with fresh mint leaves for a refreshing touch.
- Drizzle: Add a caramel or chocolate sauce drizzle for an indulgent experience.
- Breakfast Twist: Enjoy leftovers as a breakfast treat with yogurt and fresh fruit!
Conclusion
This easy skillet pear crisp is not just a dessert; it’s a delightful experience that brings warmth and joy to your table. With its simple steps, rich flavors, and customization options, you can make it your own. So grab those ripe pears, and let’s create something delicious together. Remember, great cooking is about enjoying the process, so take your time and have fun in the kitchen. Happy cooking!
Delicious Easy Skillet Pear Crisp Recipe Quick Irresistible
Ingredients
Fruits
- 4 pieces ripe pears (Bartlett or Bosc)
- 1/4 cup brown sugar
- 1 teaspoon ground cinnamon
- 1/2 teaspoon ground nutmeg
- 1 cup rolled oats
- 1/2 cup all-purpose flour
- 1/2 cup unsalted butter, melted
- 1/4 cup chopped nuts (optional)
- Pinch optional salt
- optional Coconut flakes
- 1 teaspoon vanilla extract
- for serving Vanilla ice cream
- for garnish Fresh mint leaves
- for serving Cream or whipped topping
Instructions
- Wash, peel, and slice pears into thin wedges.
- Cook pears in skillet with sugar, cinnamon, and nutmeg until soft and juicy, about 5-7 minutes.
- Mix oats, flour, melted butter, nuts, and salt to make topping.
- Sprinkle topping over cooked pears and cook covered for 10-15 minutes until golden and crisp.
- Serve warm with ice cream, mint, and whipped topping.