
![['Close-up side view of Classic Pumpkin Bars showing a moist texture and rich color.', 'Delicious Classic Pumpkin Bars displayed, highlighting their spiced surface and soft crumb.', 'Juicy Classic Pumpkin Bars captured from the side, showcasing their golden-brown edges and pumpkin filling.', 'Focused image of Classic Pumpkin Bars, revealing the layers and spices within the bars.']](https://cooksyra.com/wp-content/uploads/2026/07/classic-pumpkin-bars_1_U1.webp "Savor the Season: Whipping Up Delightful Classic Pumpkin Bars")
Delight in Every Bite: Your Ultimate Guide to Classic Pumpkin Bars
Welcome to the cozy world of pumpkin bars! If you’re searching for the perfect treat to embrace the flavors of autumn, you’ve come to the right place. These classic pumpkin bars are not only easy to prepare but also packed with warm spices and creamy goodness. Whether you’re hosting a gathering, need a sweet snack for the family, or just want to indulge in a little homemade comfort, this recipe is the answer. Let’s dive in and learn how to whip up these delightful bars that will have everyone asking for seconds!
Why You’ll Love This Recipe
This isn’t just any pumpkin bar recipe; it’s a celebration of flavor, texture, and simplicity! Here’s why you’ll adore making these bars:
- Quick and Easy: With just a few simple ingredients, you can whip up a batch in under an hour. Perfect for busy days!
- Moist and Flavorful: The combination of pumpkin purée and spices ensures every bite is packed with rich, comforting flavor.
- Versatile Treat: These bars are perfect for any occasion — from holiday parties to casual family dinners.
- Customizable: Feel free to add nuts, chocolate chips, or even a swirl of cream cheese frosting to make them your own!
- Make-Ahead Friendly: They store well and can be made ahead of time, making them a great option for meal prep or holiday gatherings.
Ingredients for Classic Pumpkin Bars
Let’s take a closer look at the ingredients you’ll need to create these delectable pumpkin bars:

★ Recommended Kitchen Tool
Meal Prep Container Set
Make this recipe even easier with a quality Meal Prep Container Set — a must-have kitchen staple!
- Pumpkin purée: Use canned or homemade for a rich flavor. Avoid pumpkin pie filling as it contains added sugars and spices.
- Sugar: Granulated sugar adds sweetness. You can substitute with brown sugar for a deeper flavor.
- Eggs: Essential for binding and adding moisture to the bars.
- Vegetable oil: Keeps the bars moist and tender. Feel free to use melted coconut oil or applesauce for a healthier option.
- Flour: All-purpose flour works best, but you can use a gluten-free blend if needed.
- Baking powder and baking soda: These leavening agents help the bars rise beautifully.
- Pumpkin pie spice: A blend of cinnamon, nutmeg, and ginger that enhances the pumpkin flavor. You can also make your own blend!
How to Make Classic Pumpkin Bars
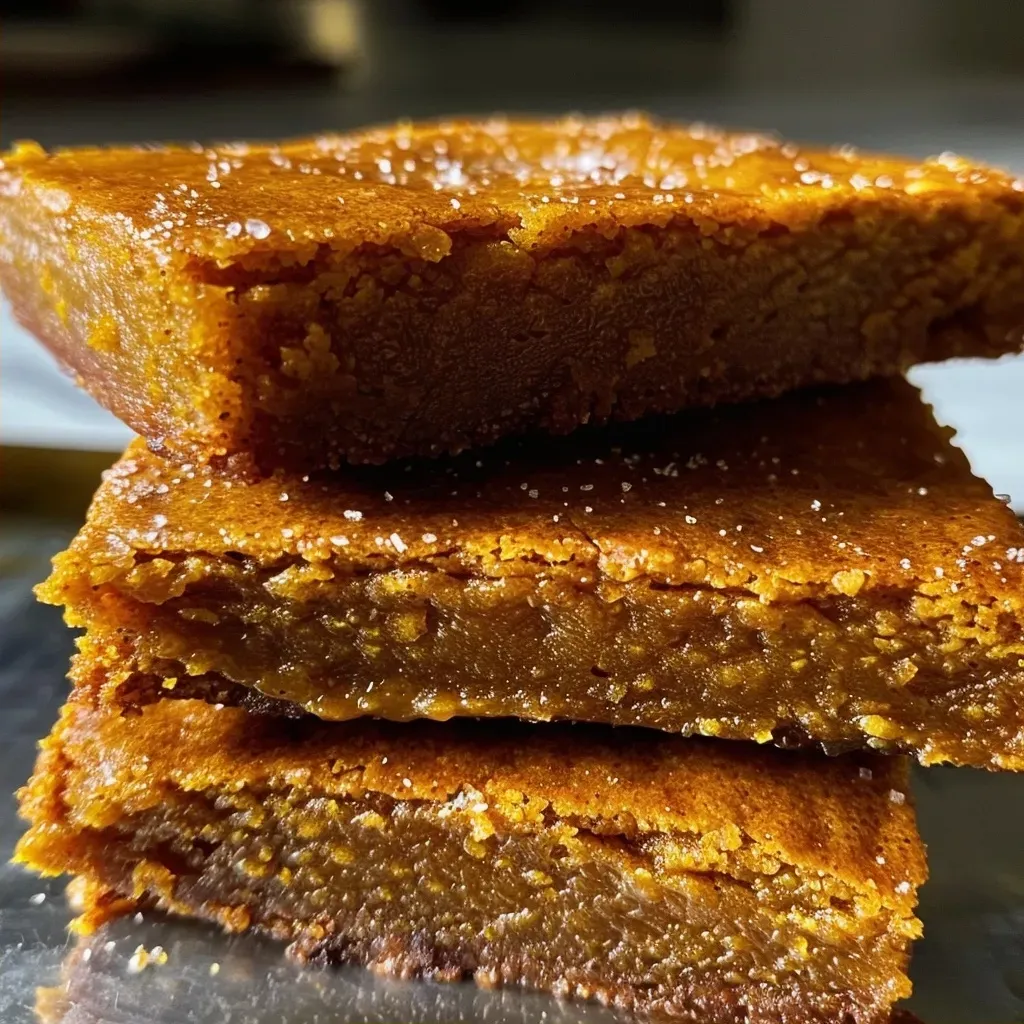
Ready to get baking? Follow these simple steps for a batch of irresistible pumpkin bars:
Step 1: Prepare Your Baking Station
Start by preheating your oven to 350°F (175°C). Grease a 9×13-inch baking pan or line it with parchment paper for easy removal.
Step 2: Mix the Wet Ingredients
In a large mixing bowl, whisk together the pumpkin purée, sugar, eggs, and vegetable oil until the mixture is smooth and well-combined.
Step 3: Combine Dry Ingredients
In another bowl, sift together the flour, baking powder, baking soda, and pumpkin pie spice. Gradually stir the dry ingredients into the wet mixture until just combined. Avoid overmixing!
Step 4: Bake the Bars
Pour the batter into your prepared baking pan, spreading it evenly. Bake in the preheated oven for 25-30 minutes. To check for doneness, insert a toothpick into the center; it should come out clean.
Step 5: Make the Cream Cheese Frosting
While the bars are cooling, whip up some creamy frosting! In a bowl, beat together softened cream cheese, powdered sugar, and a splash of vanilla extract until smooth and fluffy.
Step 6: Frost and Serve
Once the bars are completely cool, spread a generous layer of cream cheese frosting on top. Cut them into squares, serve, and enjoy!
Pro Tips for Perfect Pumpkin Bars
Want to take your pumpkin bars to the next level? Here are some expert insights:
- Use Fresh Ingredients: Fresh pumpkin purée gives a richer flavor than canned. If you have time, roast and purée your own pumpkin!
- Spice It Up: Adjust the pumpkin pie spice to your liking. Add more cinnamon if you love that warm flavor!
- Don’t Overmix: Mix just until combined to keep the bars tender. Overmixing can lead to dense bars.
- Let Them Cool: Allow the bars to cool completely before frosting to prevent the frosting from melting.
- Experiment with Mix-Ins: Add chopped pecans or chocolate chips to the batter for added texture and flavor.
- Use Room Temperature Ingredients: This helps create a smoother batter and ensures even baking.
- Check Oven Temperature: Use an oven thermometer to ensure your oven is at the right temperature for even baking.
- Store Properly: Keep bars in an airtight container to maintain freshness.
Common Mistakes and Troubleshooting
Even the best bakers face challenges! Here are some common mistakes and how to fix them:
- Bars are Dry: This can happen if they’re overbaked or if there wasn’t enough moisture in the batter. Always check for doneness a few minutes early!
- Frosting is Runny: If your cream cheese frosting is too runny, chill it for a bit to thicken. You can also add more powdered sugar to achieve the desired consistency.
- Bars are Too Dense: Overmixing the batter can lead to density. Mix gently, and only until combined!
Delicious Variations of Pumpkin Bars
Feeling adventurous? Here are some fun variations to try:
- Chocolate Chip Pumpkin Bars: Fold in semi-sweet chocolate chips to the batter for a delightful twist.
- Nutty Pumpkin Bars: Add chopped walnuts or pecans for a crunchy texture.
- Caramel Swirl Bars: Drizzle caramel sauce over the top before baking for a sweet surprise.
- Spiced Cream Cheese Bars: Mix in some additional spices like ginger and cloves into the cream cheese frosting for an extra flavor kick.
Storage and Make-Ahead Instructions
These pumpkin bars are perfect for prepping ahead of time. Here’s how to store them:
- At Room Temperature: Store in an airtight container for up to 3 days.
- In the Refrigerator: For longer freshness, keep them in the fridge for up to a week.
- Freezing: You can freeze the bars without frosting for up to 3 months. Wrap them tightly in plastic wrap and then foil before freezing.
Frequently Asked Questions (FAQ)
Got questions? We’ve got answers! Here are some common queries about pumpkin bars:
- Can I use fresh pumpkin instead of canned? Absolutely! Just make sure to roast and purée it well.
- How do I know when the bars are done? Insert a toothpick into the center; it should come out clean or with a few crumbs.
- Can I make these bars gluten-free? Yes, use a gluten-free flour blend for a tasty alternative.
- What can I serve with pumpkin bars? They pair wonderfully with whipped cream, vanilla ice cream, or a cup of coffee!
- How long do the bars last? They’ll stay fresh for up to a week in the refrigerator.
- Can I add nuts to the batter? Yes, feel free to mix in your favorite nuts for extra crunch!
- Is it necessary to frost the bars? While they’re delicious plain, frosting adds an extra layer of flavor!
- Can I make these bars ahead of time? Definitely! They store well and are perfect for prepping ahead of gatherings.
Nutritional Tips and Dietary Adaptations
Want to enjoy these pumpkin bars while keeping nutrition in mind? Here are some tips:
- Healthier Sweeteners: Use honey or maple syrup to reduce refined sugar intake.
- Reduce Oil: Substitute half the oil with unsweetened applesauce for a lighter version.
- Vegan Option: Replace eggs with flax eggs (1 tablespoon of ground flaxseed + 2.5 tablespoons water = 1 egg) and use plant-based oil.
Essential Equipment Recommendations
Here’s what you’ll need to make these bars:
- Mixing bowls: A set of various sizes for easy mixing.
- Whisk: For combining wet ingredients smoothly.
- Spatula: To gently fold in dry ingredients without overmixing.
- Baking pan: A 9×13-inch pan is ideal for perfect bar sizes.
- Toothpick: Essential for checking doneness.
Serving Suggestions
Ready to serve? Here are some delightful ideas:
- Garnish with Whipped Cream: A dollop of whipped cream on top elevates the experience.
- Serve Warm: Warm bars with a scoop of ice cream make for a cozy dessert.
- Pair with Coffee: Enjoy alongside a warm cup of coffee or spiced chai for a perfect treat.
Final Thoughts: Embrace the Pumpkin Season
There you have it! A comprehensive guide to making classic pumpkin bars that are sure to impress. Remember, cooking is about exploration, so feel free to make this recipe your own. Enjoy the delightful flavors of fall and share the love with friends and family. Happy baking!
Classic Pumpkin Bars
Ingredients
wet ingredients
- 1 cup Pumpkin purée
- 1 cup Sugar
- 2 eggs Eggs
- 0.5 cup Vegetable oil
dry ingredients
- 1.5 cups Flour
- 1 teaspoon Baking powder
- 0.5 teaspoon Baking soda
- 2 teaspoons Pumpkin pie spice
Instructions
-
Whisk pumpkin, sugar, eggs, and oil until smooth.
-
Stir in dry ingredients until just combined.
-
Pour into greased baking pan and bake at 350°F (175°C) for 25–30 min.

![['Side view of golden-brown butternut squash scones on a white plate.', 'Close-up of freshly baked butternut squash scones with a textured surface.', 'A warm butternut squash scone placed on a rustic wooden table.', 'Three butternut squash scones arranged neatly, showcasing their crumbly texture.']](https://cooksyra.com/wp-content/uploads/2026/07/butternut-squash-scones_1_U1-150x150.webp)
![['Close-up view of Healthy Apple Pie Oatmeal Cookies featuring a golden-brown surface and visible oat and apple pieces.', 'Side angle of freshly baked Healthy Apple Pie Oatmeal Cookies showing a soft texture and apple chunks.', 'Delicious Healthy Apple Pie Oatmeal Cookies captured with a focus on their chewy texture and cinnamon dusting.', 'Close-up shot of Healthy Apple Pie Oatmeal Cookies highlighting their moist interior and apple pieces.']](https://cooksyra.com/wp-content/uploads/2026/07/healthy-apple-pie-oatmeal-cookies_1_U1-150x150.webp)