Welcome to Your New Favorite One-Pan Wonder!
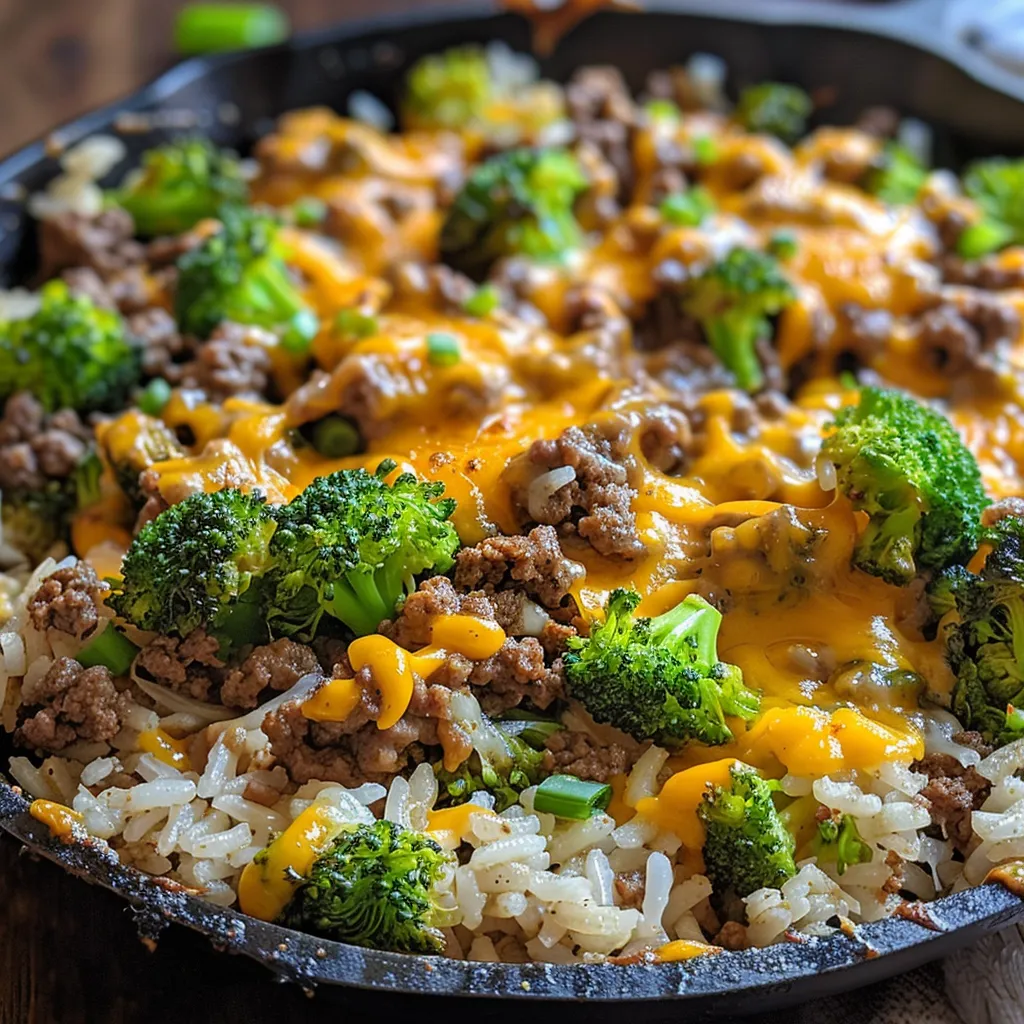
Are you ready to simplify family dinners without sacrificing flavor? Look no further than this One-Pan Wonder Cheesy Beef Broccoli and Rice Skillet. In just one skillet, you’ll combine hearty ground beef, fresh broccoli, and ooey-gooey cheese for a meal that’s not only delicious but also easy to prepare. Whether you’re a busy parent, a novice cook, or someone who just loves good food, this recipe is perfect for you! With a total cook time of about 30 minutes, it’s a weeknight lifesaver. Let’s dive in and discover why this dish is going to become a staple in your kitchen!
Why You’ll Love This Recipe
- Quick and Easy: Perfect for busy weeknights, this dish comes together in under 30 minutes, allowing you to spend more time with your loved ones.
- One-Pan Meal: Less cleanup means more time to relax. Everything cooks in one skillet, making it a breeze to prepare and serve.
- Hearty and Satisfying: The combination of ground beef, broccoli, and cheesy goodness creates a comforting dish that will leave everyone feeling full and happy.
- Customizable: You can easily swap out ingredients to suit your family’s tastes, whether it’s different veggies or proteins.
- Kid-Approved: With its cheesy flavor and colorful presentation, this dish is sure to please even the pickiest eaters!
Ingredient Breakdown
Let’s take a closer look at what you’ll need for this delicious meal and some potential substitutions to keep your cooking flexible!
- Ground Beef (1 pound): This is the protein base of the dish. You can substitute it with ground turkey, chicken, or even plant-based meat alternatives for a lighter option.
- Yellow Onion (1 medium, diced): Adds sweetness and depth to the flavor. If you’re out of onions, shallots or leeks work well too.
- Seasonings: Onion powder, garlic powder, paprika, kosher salt, black pepper, garlic, and red pepper flakes are essential to build the flavor profile. Adjust spice levels to your liking!
- Worcestershire Sauce (½ tablespoon): This adds a nice umami kick. Soy sauce can be a substitute if you’re out.
- Beef Broth (3 cups): It’s crucial for cooking the rice and adds flavorful moisture. You can use chicken broth or vegetable broth for a different flavor.
- Long-Grain White Rice (1 cup, rinsed): Provides the starch that binds the dish. Brown rice can also be used, but it may require a longer cooking time.
- Broccoli Florets (3 cups): Fresh broccoli adds color and nutrition. Frozen broccoli is a great alternative—just thaw it before adding.
- Cheddar Cheese (¾ cup each of sharp and mild, shredded): The cheese is what makes this dish truly cheesy! Feel free to mix it up with your favorite cheese varieties.
Step-by-Step Instructions
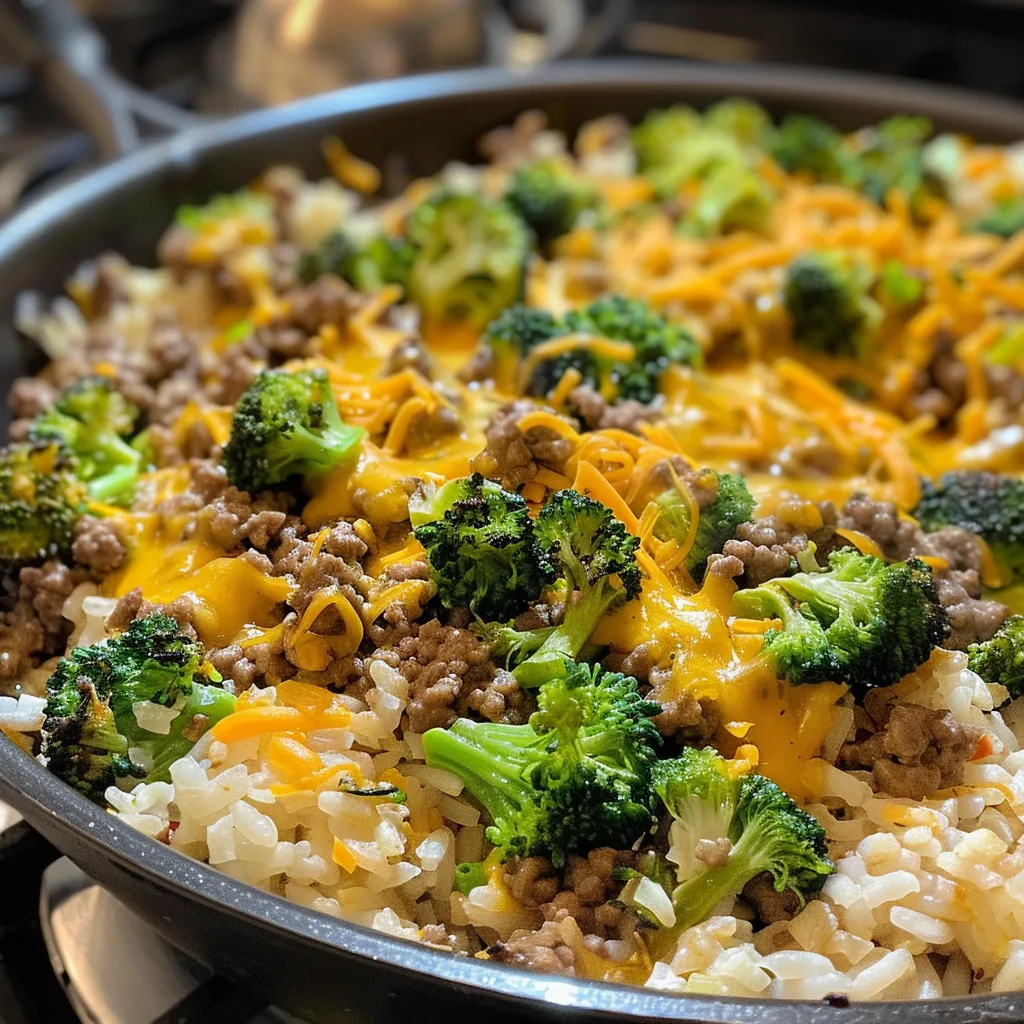
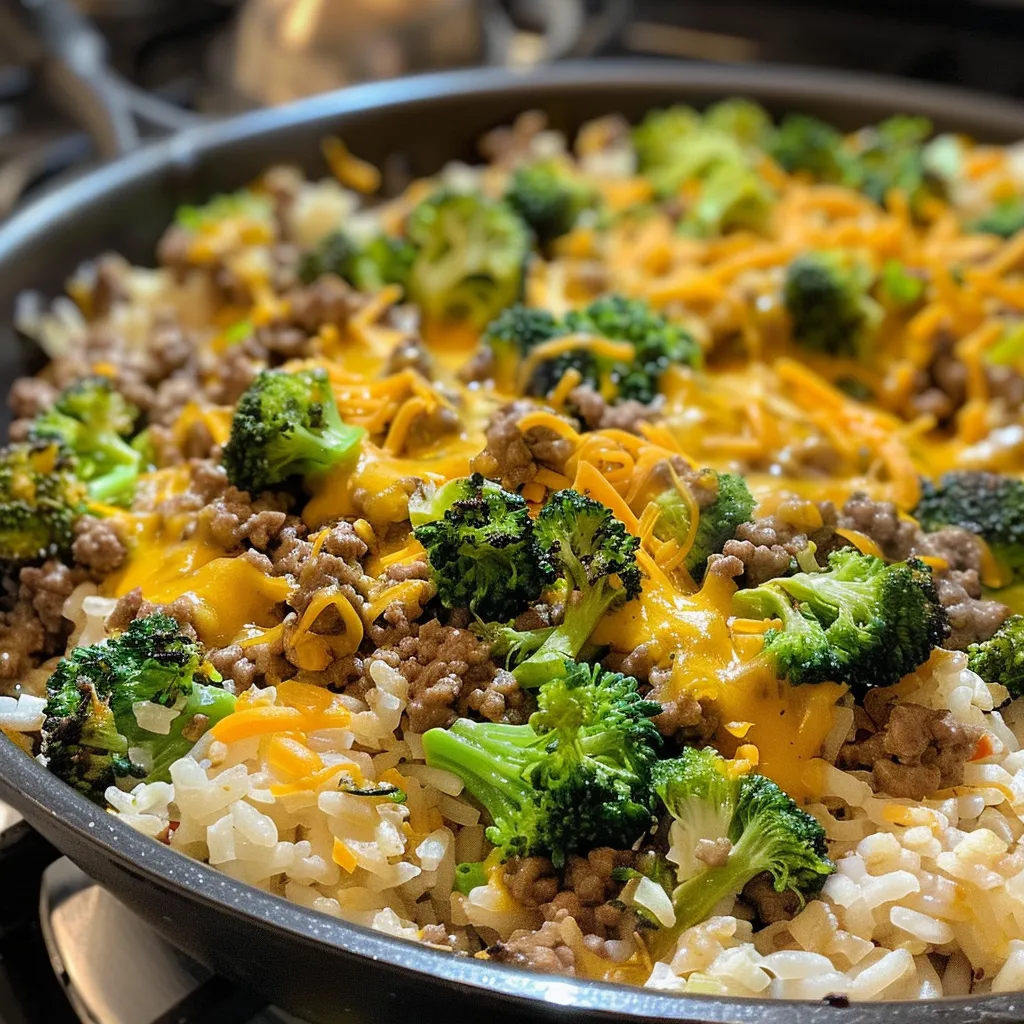
Ready to make this delicious one-pan meal? Let’s walk through the steps together!
- In a large skillet over medium-high heat, add the ground beef and diced onion. Cook for 5-6 minutes, breaking the meat apart as it browns. Drain excess grease if needed.
- Stir in the onion powder, garlic powder, paprika, kosher salt, and black pepper. Mix well to coat the meat evenly.
- Add the minced garlic and red pepper flakes, cooking for an additional minute until fragrant.
- Pour in the Worcestershire sauce, beef broth, and rinsed rice. Bring to a boil, then reduce heat to medium-low. Cover and simmer for 10 minutes.
- After 10 minutes, stir in the chopped broccoli. Cover and continue to simmer for another 5-7 minutes, or until the rice is tender and most of the liquid has been absorbed.
- In a small bowl, combine the shredded sharp and mild cheddar cheese. Stir in half of the cheese mixture into the skillet until melted and fully incorporated.
- Sprinkle the remaining cheese on top. Remove from heat, cover, and let it rest for 2-3 minutes until the cheese melts.
- Serve warm and enjoy!
Pro Tips for Success
Here are some expert tips to ensure your Cheesy Beef Broccoli and Rice Skillet turns out perfectly every time:
- Don’t Overcook the Rice: Keep an eye on the rice as it cooks to avoid mushiness. It should be tender but not falling apart.
- Use Fresh Ingredients: Fresh broccoli not only tastes better but also adds a nice crunch to the dish. If using frozen, be sure to thaw and drain excess water.
- Adjust Spice Levels: If you’re cooking for kids, consider reducing the amount of red pepper flakes or omitting them entirely.
- Cheese Variations: Experiment with different cheeses like Monterey Jack, Gouda, or Pepper Jack for a unique twist on flavor.
- Make it a Meal: Pair this dish with a side salad or some crusty bread for a complete dinner experience.
- Storage Tips: Store leftovers in an airtight container in the fridge for up to 3 days. Reheat in the microwave or on the stovetop with a splash of broth.
- Freezing Options: You can freeze the cooked skillet for up to 3 months. Thaw overnight in the fridge before reheating.
- Make Ahead: Prep ingredients in advance, chopping veggies and measuring spices to make the cooking process even quicker!
Common Mistakes and Troubleshooting
If things don’t go as planned, here are some common pitfalls and how to fix them:
- Too Much Liquid: If you find your dish is too soupy, simply remove the lid and let it simmer for a few more minutes to allow excess moisture to evaporate.
- Burnt Bottom: Use a non-stick skillet to avoid sticking. If you notice burning, reduce the heat and stir more frequently.
- Uneven Cooking: Make sure to stir the skillet occasionally to ensure even cooking of all ingredients.
- Cheese Not Melting: If the cheese isn’t melting well, give it a few minutes covered to allow the heat to work its magic.
Variations You Can Try
This recipe is incredibly versatile! Here are some variations to keep your meals exciting:
- Vegetarian Version: Swap out ground beef for black beans or lentils and use vegetable broth.
- Asian-Inspired: Add soy sauce and sesame oil for an Asian twist, and toss in some peas or bell peppers.
- Mexican Flair: Incorporate taco seasoning instead of the spices and top with jalapeños and cilantro.
- Extra Veggies: Mix in other vegetables like bell peppers, carrots, or corn for added nutrition.
Storage and Make-Ahead Instructions
This dish is perfect for meal prep! Here’s how to store and reheat it:
- Refrigeration: Store in an airtight container for up to 3 days. Reheat in the microwave or on the stovetop with a little broth.
- Freezing: Cool completely before transferring to a freezer-safe container. Freeze for up to 3 months and thaw overnight in the refrigerator before reheating.
- Make-Ahead Prep: Chop veggies and measure out spices ahead of time to make cooking a breeze on busy nights.
FAQs
Got questions? We’ve got answers! Here are some frequently asked questions about this recipe:
- Can I use frozen broccoli? Yes, just make sure to thaw it before adding it to the skillet.
- Is there a gluten-free option? Absolutely! Use gluten-free broth and check your seasonings for gluten-free labels.
- Can I use brown rice? Yes, but brown rice requires a longer cooking time. Add an additional 10-15 minutes to the simmering time.
- How do I know when the rice is done? The rice should be tender and have absorbed most of the liquid.
- What can I serve with this dish? This skillet pairs well with a fresh garden salad or garlic bread.
- Can I add other proteins? Absolutely! Feel free to include chicken, sausage, or any protein you prefer.
- How can I make this dairy-free? Use dairy-free cheese alternatives and omit the cheddar.
- Is it possible to make this in advance? Yes! You can prepare it ahead of time and reheat when ready to serve.
Nutritional Tips and Dietary Adaptations
This dish can easily be adapted to fit various dietary needs:
- Low-Carb Option: Substitute rice with cauliflower rice for a low-carb alternative.
- High-Protein Variation: Increase the amount of ground beef or add legumes to boost protein content.
- Vegan Adaptation: Use plant-based meat and nutritional yeast for a cheesy flavor.
Recommended Equipment
To make this recipe, you’ll need:
- Large Skillet: A non-stick or cast-iron skillet works best for even cooking.
- Measuring Cups and Spoons: For precise ingredient measurements.
- Spatula or Wooden Spoon: Essential for stirring and serving!
Serving Suggestions
Now that you’ve created this delicious Cheesy Beef Broccoli and Rice Skillet, here are some serving suggestions to elevate your meal:
- Fresh Salad: A simple green salad with a light vinaigrette balances the richness of the dish.
- Garlic Bread: Perfect for soaking up any cheesy goodness left on your plate.
- Fruit Salad: A refreshing fruit salad can provide a sweet contrast to the savory flavors.
Conclusion
There you have it—the ultimate One-Pan Wonder Cheesy Beef Broccoli and Rice Skillet! This recipe not only saves time and effort but also delivers a hearty meal that the whole family will love. Remember, cooking is all about enjoying the process, so don’t stress about perfection. Embrace the mess, have fun in the kitchen, and celebrate the delicious results. Happy cooking, friends!
Cheesy Beef Broccoli and Rice Skillet
Ingredients
Meat and Vegetables
- 1 pound ground beef
- 1 medium yellow onion, diced
- 1 teaspoon onion powder
- 1 teaspoon garlic powder
- 1 teaspoon paprika
- ½ teaspoon kosher salt
- ½ teaspoon black pepper
- 1 tablespoon garlic, minced
- ¼ teaspoon red pepper flakes
- ½ tablespoon Worcestershire sauce
- 3 cups beef broth (24 ounces / 720 g)
- 1 cup long-grain white rice, rinsed (185 g)
- 3 cups chopped broccoli florets (273 g)
- ¾ cup sharp white cheddar cheese, shredded (85 g)
- ¾ cup mild cheddar cheese, shredded (85 g)
Instructions
- Cook ground beef and diced onion in a large skillet over medium-high heat for 5-6 minutes, breaking apart as it browns. Drain excess grease.
- Add onion powder, garlic powder, paprika, salt, and pepper; stir to coat. Add minced garlic and red pepper flakes; cook for 1 minute.
- Pour in Worcestershire sauce, beef broth, and rice; bring to a boil. Reduce heat, cover, and simmer for 10 minutes.
- Stir in chopped broccoli, cover, and simmer for 5-7 minutes until rice is tender and liquid is absorbed.
- Mix half of the cheese blend into the skillet until melted. Top with remaining cheese, cover, and rest for 2-3 minutes until melted. Serve warm.