Introducing the Delightfully Simple Peanut Yogurt Banana Chocolate Clusters!
If you’re looking for a sweet treat that’s both satisfying and easy to whip up, you’ve landed in the right spot! These Peanut Yogurt Banana Chocolate Clusters are a delicious no-bake dessert that combines the rich flavors of peanut butter, the creaminess of Greek yogurt, and the sweetness of ripe bananas. Perfect for kids and adults alike, these clusters are a refreshing and guilt-free indulgence you can make in no time. Let’s dive into why you’ll absolutely love this recipe!
Why You’ll Love This Recipe
Here are just a few reasons why these clusters will become your new go-to treat:
- Quick and Easy: With just a few simple steps, you can prepare these clusters in under 30 minutes, making them a perfect last-minute dessert.
- No-Bake Delight: Enjoy a delicious treat without the hassle of baking; just mix, freeze, and enjoy!
- Healthy Indulgence: Packed with protein from Greek yogurt and healthy fats from peanut butter, these clusters are a guilt-free snack.
- Kid-Friendly: Kids love the combination of flavors and fun textures, making them a hit at any gathering.
- Customizable: Easily adjust the ingredients to fit your taste preferences or dietary needs!
Ingredient Breakdown
Before you start mixing, let’s take a closer look at the ingredients that make these clusters so delicious:
- 2 ripe bananas: The star of the show! Choose firm, ripe bananas for the best sweetness and texture.
- 1/2 cup Greek yogurt: Adds creaminess and tang to the clusters while packing a protein punch.
- 1/3 cup creamy peanut butter: Provides richness and helps hold everything together.
- 1/4 cup roasted salted peanuts: For that delightful crunch and salty contrast to the sweetness.
- 1 tbsp maple syrup: A natural sweetener that balances the flavors beautifully.
- 200g dark chocolate (at least 55% cacao): The perfect rich coating that adds a touch of indulgence.
- 1 tbsp coconut oil: Helps to smooth and set the chocolate coating.
Expert Tips for Making Perfect Clusters
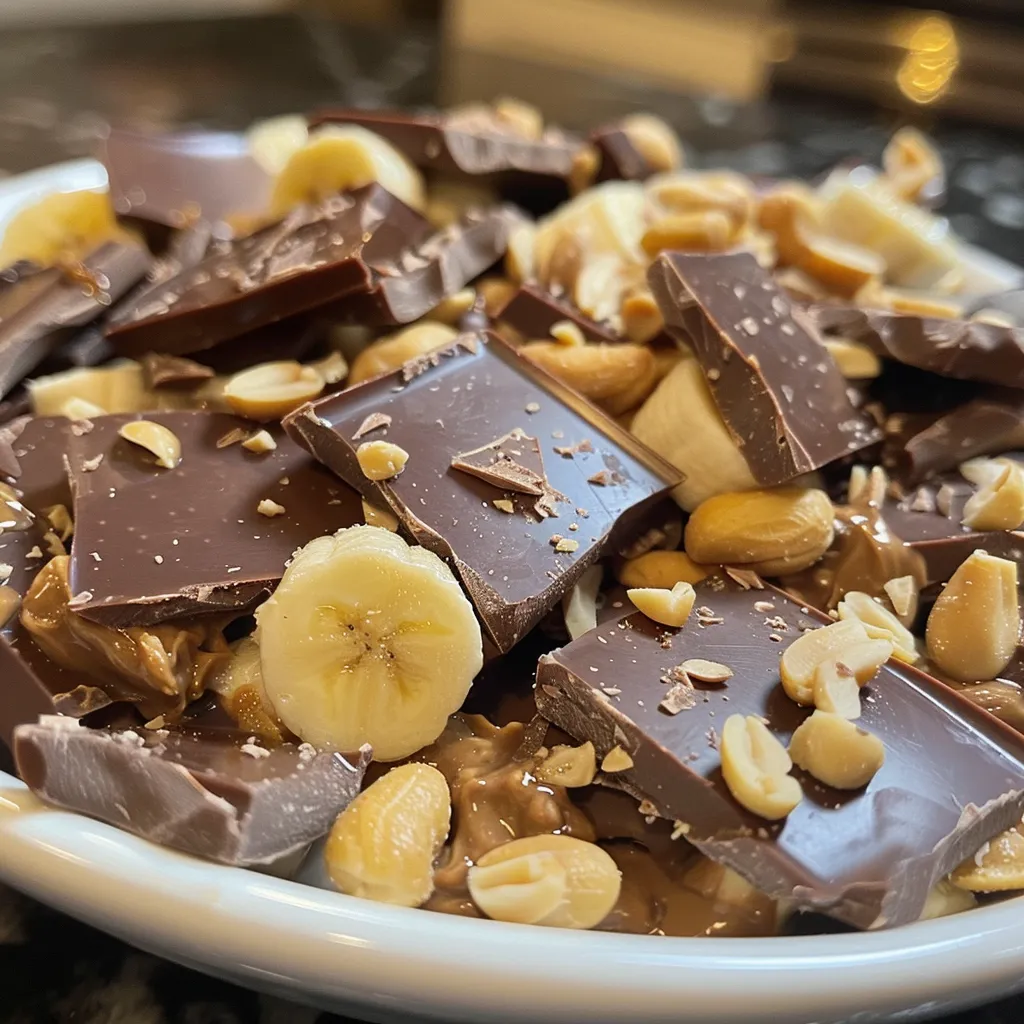
Here are some tips to ensure your clusters come out perfectly every time:
- Banana Ripeness: Use ripe bananas for the best flavor and sweetness; the riper they are, the better!
- Yogurt Consistency: Make sure to use thick Greek yogurt for a creamy texture that holds up well.
- Peanut Butter Variety: Creamy peanut butter works best, but you can also use crunchy for added texture.
- Chocolate Melting: Melt the chocolate gently, either in a microwave or double boiler, to avoid burning.
- Freezing Time: Be patient while freezing; ensure the clusters are fully firm before serving for the best texture.
- Storage: Store in an airtight container to keep them fresh in the freezer for up to two weeks.
- Ingredient Swaps: You can substitute almond butter for peanut butter or use dairy-free yogurt for a vegan option.
- Flavor Variations: Consider adding a pinch of cinnamon or vanilla extract for an extra flavor boost!
How to Make Peanut Yogurt Banana Chocolate Clusters
Now, let’s get into the step-by-step process of creating these delightful clusters:
- Slice bananas into bite-sized rounds and set aside.
- In a bowl, combine Greek yogurt, peanut butter, maple syrup, and chopped roasted peanuts. Mix until well blended.
- Gently fold banana pieces into the yogurt mixture until evenly coated.
- Drop spoonfuls of the mixture onto a parchment-lined baking sheet, shaping them into clusters.
- Freeze clusters for 20–30 minutes until firm.
- While freezing, melt dark chocolate with coconut oil until smooth, using a microwave or double boiler.
- Dip each frozen cluster into the melted chocolate using a fork, then place back on the sheet.
- Freeze again for at least 1 hour, or until the chocolate is completely hardened.
- Let clusters sit at room temperature for 10 minutes before serving.
Creative Variations and Pairings
Want to mix things up? Here are some fun variations you can try:
- Nutty Banana Bites: Use mixed nuts instead of just peanuts for a flavor explosion.
- Chocolate Drizzle: Drizzle additional melted chocolate on top for an extra indulgent touch.
- Fruit Fusion: Add chopped strawberries or blueberries to the yogurt mixture for a fruity twist.
- Spicy Kick: Sprinkle a little cayenne pepper into the chocolate for a surprising spicy flavor.
Storage and Make-Ahead Instructions
These clusters are perfect for meal prep! Make a batch ahead of time and store them in the freezer. They keep well for up to two weeks. Here’s how to store them:
- Freezer-Friendly: Use an airtight container to prevent freezer burn.
- Layering: If stacking, place parchment paper between layers to avoid sticking.
Frequently Asked Questions
Got questions? Here are some common ones:
- Can I use regular yogurt instead of Greek yogurt? Yes, but Greek yogurt provides a thicker texture that holds better.
- How long can I store these clusters in the freezer? They can be stored for up to two weeks in an airtight container.
- Can I use different types of chocolate? Absolutely! Milk chocolate or white chocolate can be used for different flavor profiles.
- What if I don’t have peanuts? You can substitute with any nut or seed butter of your choice!
- Are these clusters gluten-free? Yes, all the ingredients listed are gluten-free!
- Can I add protein powder? Yes, adding protein powder can make these clusters even more nutritious!
- What’s the best way to serve them? They’re best enjoyed fresh out of the freezer but can be served at room temperature for a softer texture.
- Can I make these vegan? Yes! Use dairy-free yogurt and maple syrup, and choose a vegan chocolate option.
Nutritional Tips and Dietary Adaptations
These clusters not only taste great but also offer some nutritional benefits!
- Protein Power: Greek yogurt is an excellent source of protein, making these clusters a filling snack.
- Healthy Fats: Peanut butter and nuts provide healthy fats that are essential for your body.
- Fiber Boost: Bananas are a good source of dietary fiber, promoting digestive health.
- Low Sugar Option: You can adjust the amount of maple syrup or omit it entirely to lower the sugar content.
Equipment Recommendations
To ensure a smooth process while making these clusters, here’s what you’ll need:
- Mixing Bowl: A medium-sized bowl for mixing the yogurt and peanut butter mixture.
- Parchment Paper: Essential for lining your baking sheet to prevent sticking.
- Spoon or Ice Cream Scoop: Perfect for dropping the mixture onto the baking sheet.
- Microwave or Double Boiler: For melting the chocolate smoothly.
Serving Suggestions
These clusters are versatile and can be enjoyed in various ways:
- As a Snack: Perfect for afternoon munchies or post-workout fuel.
- Party Treat: Serve them at parties or gatherings for a unique dessert option.
- Breakfast Boost: Pair them with a smoothie or yogurt for a delightful breakfast.
Conclusion
Whipping up these Peanut Yogurt Banana Chocolate Clusters is not only easy but also a delightful way to enjoy wholesome ingredients in a fun and tasty format. With their rich flavors and satisfying textures, they’re sure to please everyone in the family. So grab your ingredients and get ready to enjoy a treat that’s both delicious and nutritious. Happy cooking, friends! Remember, delicious food is always within reach, even on the busiest of days!
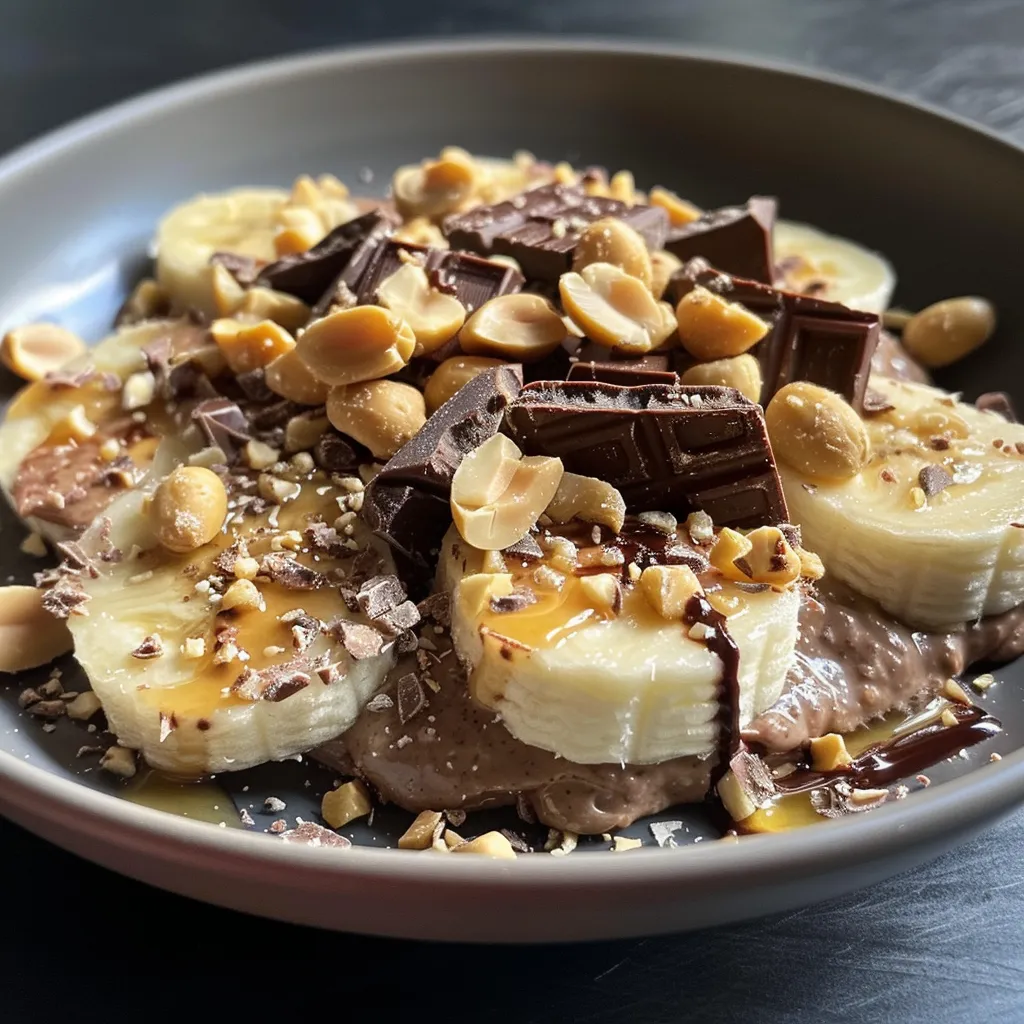
Peanut Yogurt Banana Chocolate Clusters
Ingredients
Bananas
- 2 pieces ripe bananas (sliced into bite-sized pieces)
Yogurt
- 1/2 cup Greek yogurt (adds creaminess and tang)
Peanut Butter
- 1/3 cup creamy peanut butter (provides richness and holds the filling together)
Nuts
- 1/4 cup roasted salted peanuts (adds crunch and salty contrast)
Sweetener
- 1 tbsp maple syrup (natural sweetener for balance)
Chocolate Coating
- 200 g dark chocolate (at least 55% cacao) (creates a rich, crisp coating)
Coconut Oil
- 1 tbsp coconut oil (helps smooth and set the chocolate shell)
Instructions
- Slice bananas and set aside.
- Mix yogurt, peanut butter, maple syrup, and peanuts until blended.
- Fold banana pieces into the mixture.
- Drop spoonfuls onto parchment and freeze for 20–30 minutes.
- Melt chocolate with coconut oil, dip clusters, then freeze for 1 hour.
- Let sit at room temperature for 10 minutes before serving.