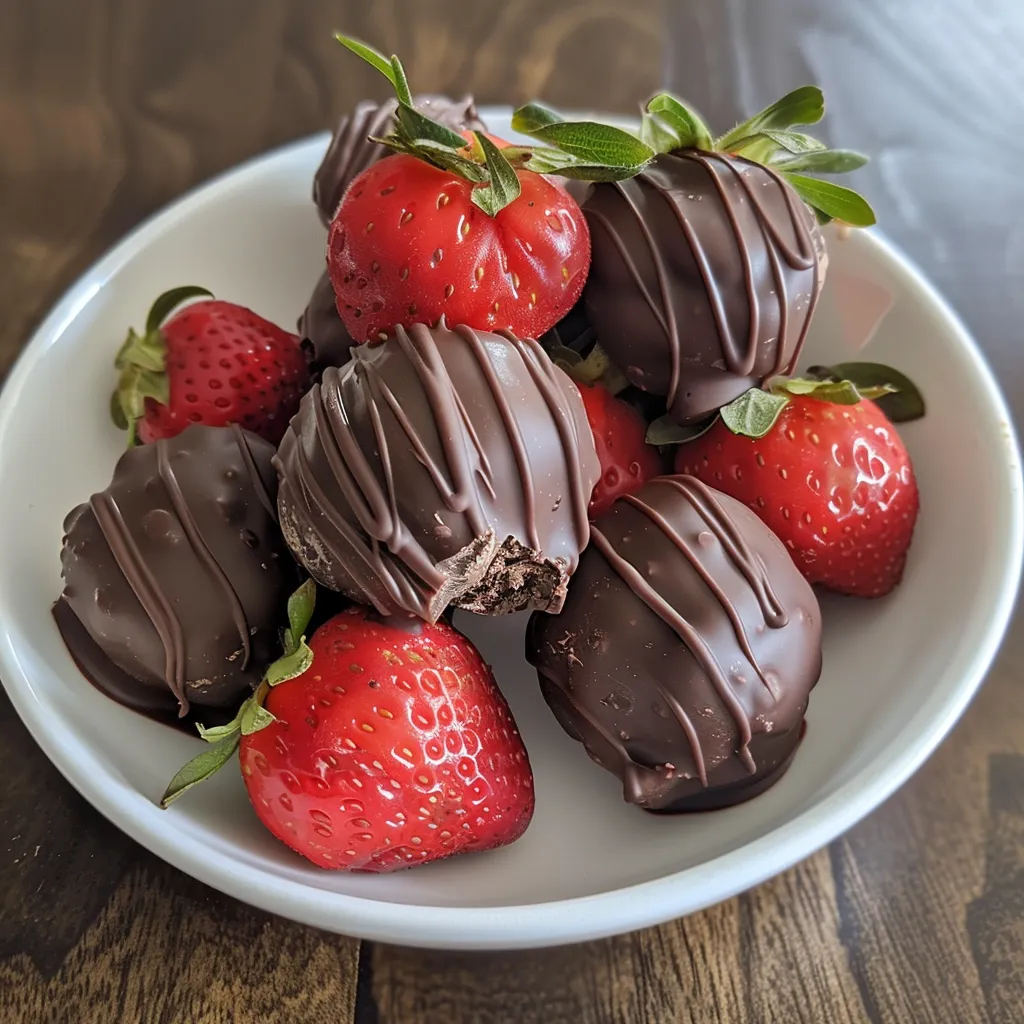
Indulge in the Simplicity of Chocolate Covered Strawberry Truffles
Welcome to the delightful world of chocolate covered strawberry truffles! These little bites of heaven are not only a feast for the eyes but also a treat for your taste buds. Whether you’re looking to impress guests at a gathering or simply satisfy your sweet tooth, this recipe is your go-to solution. With just a handful of simple ingredients, you can create a dessert that feels special without spending hours in the kitchen. Let’s dive into why you’ll love making these truffles and how you can enjoy them any day of the week!
Why You’ll Love This Recipe
Chocolate covered strawberry truffles are a perfect blend of flavors and textures—sweet, creamy, and just a little bit indulgent. Here are five reasons why you’ll adore this recipe:
- Easy to Make: With minimal ingredients and straightforward steps, these truffles are perfect for even the most novice cooks.
- Vegan Delight: Made with dairy-free dark chocolate and almond butter, these truffles are suitable for various dietary preferences.
- Customizable: You can swap ingredients based on what you have on hand, making them versatile and adaptable.
- Perfect for Gifting: These truffles make an excellent homemade gift, ideal for parties, holidays, or just because!
- Quick to Prepare: From start to finish, you can whip these up in about 30 minutes, including chilling time!
Ingredient Breakdown
Let’s take a closer look at the ingredients you’ll need to make these delicious chocolate covered strawberry truffles:
- 1 cup strawberries: Fresh or thawed, strawberries are the star of the show, providing that fresh, fruity flavor.
- 1 cup dairy-free dark chocolate chips: Ensure they’re labeled dairy-free or vegan for the best results.
- 1/4 cup almond butter: This creamy base helps bind the truffles and adds a lovely nuttiness. If you have nut allergies, feel free to substitute with sunflower seed butter!
- 1 tablespoon coconut oil: This ingredient helps to set the mixture, giving the truffles a smooth finish.
- 1 tablespoon maple syrup: For a touch of sweetness, you can also use agave or honey if you prefer.
Pro Tips for Perfect Truffles
Here are some expert tips to ensure your chocolate covered strawberry truffles turn out perfectly every time:
- Choose ripe strawberries: The riper the strawberries, the sweeter the flavor. Look for vibrant red berries!
- Chill the mixture: After blending, chill the mixture for about 15 minutes to make it easier to shape into balls.
- Use a double boiler: Melt your chocolate chips slowly over a double boiler to prevent burning and achieve a silky texture.
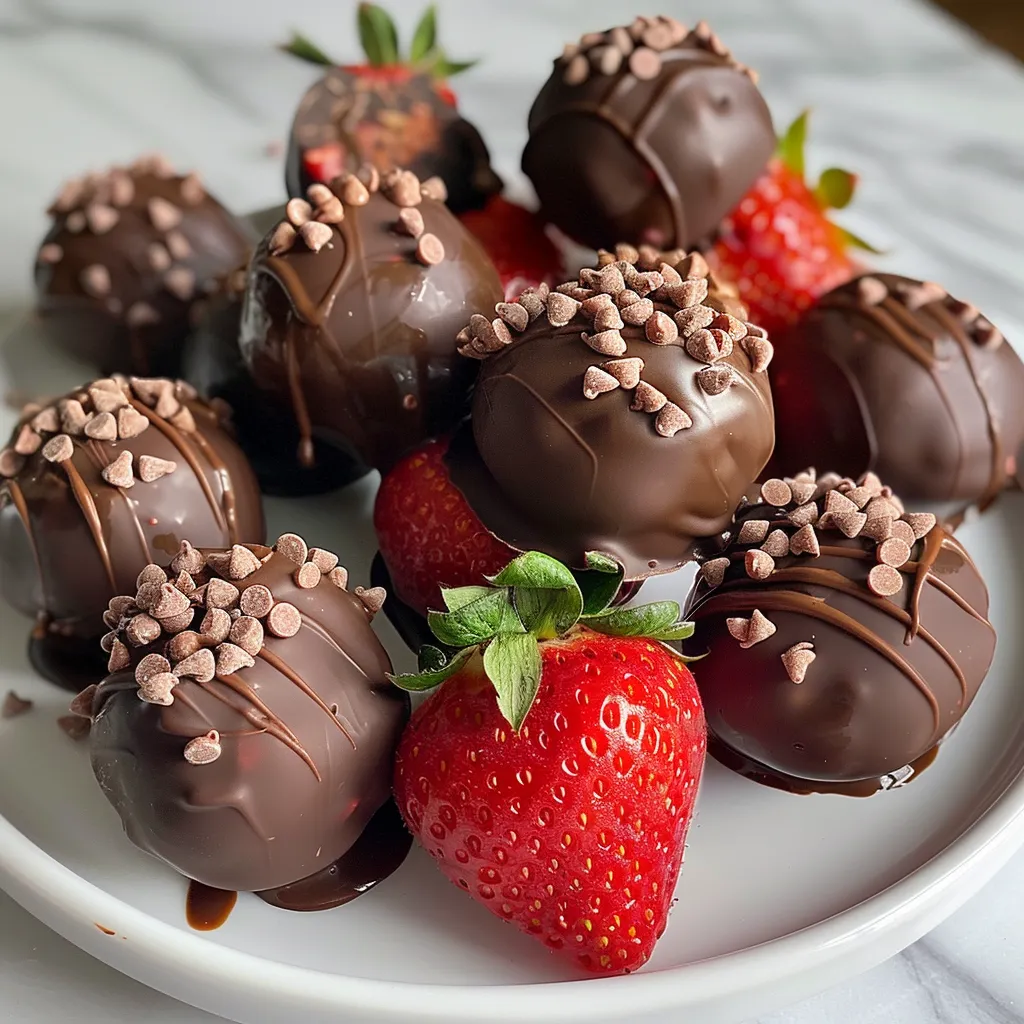
- Experiment with toppings: Roll your truffles in crushed nuts, shredded coconut, or cocoa powder for added texture and flavor.
- Keep them uniform: Use a small cookie scoop to form evenly sized truffles for a beautiful presentation.
- Don’t rush the chilling: Allow the truffles to set in the fridge for at least 30 minutes to firm up properly.
- Make ahead: You can prepare the truffles in advance and store them in the fridge, making them a convenient dessert option.
- Keep it simple: If you’re short on time, just dip the strawberries directly in chocolate for a quicker treat!
Avoiding Common Mistakes
We all make mistakes in the kitchen—it’s part of the fun! Here are some common pitfalls to avoid when making these truffles:
- Overheating the chocolate: Melting chocolate too quickly can lead to a grainy texture. Always use low heat.
- Not chilling the mixture: If you skip this step, your truffles may not hold their shape.
- Using stale strawberries: Freshness is key! Stale or mushy strawberries will affect the taste and texture of your truffles.
Recipe Variations
Get creative with these variations to suit your taste or dietary preferences:
- Nut-Free Option: Replace almond butter with sunflower seed butter for a nut-free version.
- Fruit Variations: Try using raspberries or blueberries instead of strawberries for a different flavor profile.
- Chocolate Lovers: Add a splash of espresso powder to the chocolate for a rich mocha flavor.
- Holiday Twist: Incorporate peppermint extract during the chocolate melting process for festive mint chocolate truffles!
Storage and Make-Ahead Instructions
These truffles are great for making ahead of time! Here’s how to store them:
- Refrigeration: Store the truffles in an airtight container in the fridge for up to a week.
- Freezing: For longer storage, freeze truffles in a single layer on a baking sheet, then transfer to an airtight container for up to three months.
- Thawing: When ready to enjoy, thaw in the fridge overnight for the best texture.
Frequently Asked Questions
Got questions? We’ve got answers! Here are some common queries about chocolate covered strawberry truffles:
- Can I use frozen strawberries? Yes, just make sure to thaw and drain them well to avoid excess moisture.
- What type of chocolate is best? Dairy-free dark chocolate chips work best for a rich flavor without dairy.
- How do I make them sweeter? You can add more maple syrup or a sprinkle of powdered sugar to the mixture.
- Can I use different nut butters? Absolutely! Any nut or seed butter can be used, just ensure it’s creamy.
- What if my mixture is too runny? Chill it longer to firm up, or add more almond butter to thicken.
- How do I make them look fancy? Dip them in melted chocolate again after they’ve set for a glossy finish!
- Can I add flavorings to the chocolate? Yes! Vanilla or orange extract can add a delightful twist.
- How do I serve these truffles? They’re perfect on their own, or you can serve them with a side of whipped coconut cream for dipping!
Nutritional Tips and Dietary Adaptations
These chocolate covered strawberry truffles can fit various dietary needs:
- Low-Sugar: Use sugar-free chocolate chips and reduce the maple syrup for a lower sugar option.
- Gluten-Free: This recipe is naturally gluten-free, so feel free to enjoy without worry.
- Boosting Nutrients: Add a tablespoon of chia seeds or ground flaxseed for some healthy omega-3s.
Essential Equipment Recommendations
To make your truffle-making experience smooth and enjoyable, here are some recommended tools:
- Food Processor: Perfect for blending the strawberries and almond butter into a smooth mixture.
- Double Boiler: Ideal for melting chocolate without risk of scorching.
- Cookie Scoop: Helps create evenly sized truffles for a professional look.
- Airtight Container: Essential for storing your truffles fresh and delicious.
Serving Suggestions
Now that you’ve made your truffles, here are some fun ways to serve them:
- On a Dessert Platter: Arrange them artfully on a platter with fresh strawberries for a stunning display.
- With Coffee or Tea: Pair them with your favorite hot beverage for a cozy afternoon treat.
- As Party Favors: Package them in small boxes or bags for a sweet party favor your guests will love!
Final Thoughts
Chocolate covered strawberry truffles are not just a treat; they’re an experience. The joy of creating something delicious with your own hands and the satisfaction of sharing it with others is what cooking is all about. Whether you’re celebrating a special occasion or simply indulging in a sweet moment at home, these truffles are sure to bring smiles all around. So grab those strawberries and chocolate, and let’s make some magic in the kitchen!
Chocolate Covered Strawberry Truffles
Ingredients
Fruits
- 1 cup strawberries (Fresh or thawed)
Chocolate
- 1 cup dairy-free dark chocolate chips (Ensure they are labeled dairy-free or vegan)
Nut/Seed Butter
- 1/4 cup almond butter (Substitute with another nut or seed butter if allergic)
Coconut Oil
- 1 tablespoon coconut oil (Helps set the mixture)
Sweetener
- 1 tablespoon maple syrup (Can substitute for agave or honey)
Instructions
- Puree the strawberries until smooth.
- In a bowl, melt the chocolate chips with coconut oil until smooth.
- Mix the strawberry puree, almond butter, and maple syrup into the melted chocolate until well combined.
- Chill the mixture in the refrigerator for 30 minutes until firm.
- Form the mixture into small balls and place on a parchment-lined tray.
- Refrigerate for another 15 minutes before serving.